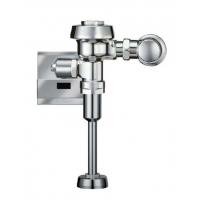
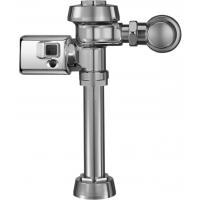
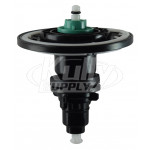
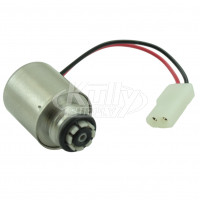
Items Included
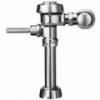
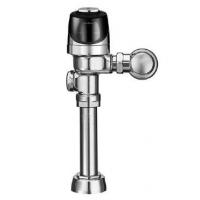
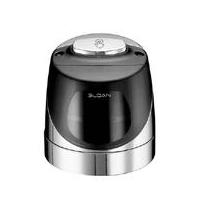
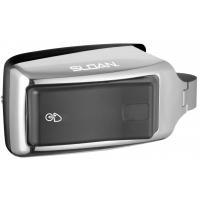
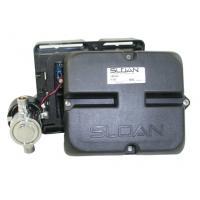
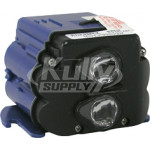
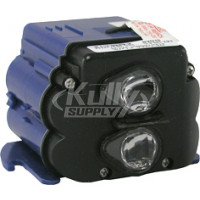
- Urinal Sensor Assembly
- 4 “AA” Batteries
- Rubber Plug for Range Adjustment Screw Hole
Description
The Optima Plus has a factory set sensing range:
- Water Closet Models – 22” to 42”
- Urinal Models – 15” to 30”
The factory setting should be satisfactory for most installations. If the range is too short (i.e., not picking up users) or too long (i.e., picking up opposite wall or stall door) the range can be adjusted.
Operation and Maintenance
Operation
- A continuous, INVISIBLE light beam is emitted from the Optima Plus Sensor.
- As the user enters the beam’s effective range, 22 to 42 inches (559 mm to 1067 mm) for closet installations and 15 to 30 inches (381 mm to 762 mm) for urinal installations, the beam is reflected into the Scanner Window to activate the Output Circuit. Once activated, the Output Circuit continues in a “hold” mode for as long as the user remains within the effective range of the sensor.
- When the user steps away, the loss of reflected light initiates an electrical “one-time” signal that activates the flushing cycle to flush the fixture. The Circuit automatically resets and is ready for the next user.
Range Adjustment (adjust only if necessary):
Enter RANGE ADJUSTMENT MODE: For the first ten (10) minutes of operation, a Visible Red Light flashes in the Sensing Window of the Optima Plus Flushometer when a user is detected. This Visible Red Light feature can be reactivated after ten (10) minutes by opening and closing the Battery Compartment Door.
- Loosen the two Screws on top of the unit.
- Remove the Override Button.
- Remove the Rubber Plug from top of Electronic Sensor Module to uncover the Potentiometer.
- Check the range by stepping toward the unit until the Red Light flashes, indicating the Sensor’s maximum detection limit.
- Adjust the Range Potentiometer Screw located on top of the Sensor Module a few degrees CLOCKWISE to increase the range or a few degrees COUNTERCLOCKWISE to decrease the range. Repeat this adjustment until the desired range is achieved.
- When range adjustment is satisfactory, replace the Rubber Plug.
- Reinstall Override Button and tighten the two Screws on top of the unit.
Note: Adjust in small increments only. The potentiometer only turns 3/4 of a turn; DO NOT over-rotate. Always Determine the Sensing Range with Metal Cover and Lens Window On Top of the Unit.
Battery Replacement
When required, replace batteries with four (4) Alkaline AA-Size Batteries. Note: Water does not have to be turned off to replace Batteries.
- Loosen the two (2) Screws on top of unit.
- Remove the complete Cover Assembly.
- Lift the Sensor Module from its Plate. Unplug the Electrical Connector from Battery Compartment Cover.
- Loosen the Retaining Screw on Battery Compartment Cover and remove Battery Compartment Cover.
- Install four (4) Alkaline AA-Size Batteries.
- Install Battery Compartment Cover and secure with Retaining Screw. Make certain that Battery Compartment Cover is fully compressed against Gasket to provide a seal; Do Not overtighten.
- Plug the Electrical Connector into the Battery Compartment Cover.
- Reinstall the Sensor Module onto the Plate.
- Reinstall the complete Cover Assembly onto the Plate.
- Tighten the two (2) Screws on top of the unit.
Troubleshooting
A. Sensor Flashes Continuously Only When User Steps Within Range.
- Unit in Start-Up mode; no problem. This feature is active for the first ten (10) minutes of operation.
B. Valve Does Not Flush; Sensor Not Picking Up User.
- Range too short; increase the range.
C. Valve Does Not Flush; Sensor Picking Up Opposite Wall or Surface, or Only Flushes When Someone Walks By. Red Light Flashes Continuously for First 10 Minutes Even with No One in Front of the Sensor.
- Range too long; shorten range.
D. Valve Does Not Flush Even After Adjustment.
- Range Adjustment Potentiometer set at full “max” or full “min” setting. Readjust Potentiometer away from full “max” or “min” setting.
- Batteries completely used up; replace batteries.
- Problem with Electronic Sensor Module; replace Electronic Sensor Module.
- Unit Flashes 4 Quick Times When User Steps Within Range.
E. Unit Flashes 4 Quick Times When User Steps Within Range.
- Batteries low; replace batteries.
F. Valve Does Not Shut Off.
- Bypass orifice in diaphragm is clogged with dirt or debris, or bypass is clogged by an invisible gelatinous film due to “over-treated” water. Remove flex tube diaphragm and wash under running water. Note: Size of Orifice in the Bypass is of utmost importance for the proper metering of water by the valve. DO NOT ENLARGE OR DAMAGE THIS ORIFICE. Replace flex tube diaphragm if cleaning does not correct the problem.
- Dirt or debris fouling stem or flex tube diaphragm. Remove flex tube diaphragm and wash under running water.
- O-ring on stem of flex tube diaphragm is damaged or worn. Replace O-ring if necessary.
- Problem with Electronic Sensor Module; replace Sensor Module.
G. Not Enough Water to Fixture.
- Wrong Flush Volume Regulator installed in Flex Tube Diaphragm Kit. Install the correct Regulator (see Step 7 of these instructions).
- Wrong Optima Plus model installed; i.e., 1 gpf. urinal installed on 3.5 gal. closet fixture. Replace with proper Optima Plus model, or refer to the G2 Optima Plus Conversion Guide to convert existing unit to the proper model.
- Enlarged Bypass in Diaphragm. Replace Flex Tube Diaphragm.
- Control Stop not adjusted properly. Readjust Control Stop.
- Inadequate volume or pressure at supply. Increase water pressure or supply (flow) to valve. Consult factory for assistance.
H. Too Much Water to Fixture.
- Wrong flush volume regulator installed in flex tube diaphragm kit. Install the correct regulator (see Step 7 of these instructions).
- Control Stop not adjusted properly. Readjust Control Stop.
- Wrong Optima Plus model installed; i.e., 3 gpf. model installed on 1.0 or 1.5 gal. urinal fixture. Replace with proper Optima Plus model, or refer to the G2 Optima Plus Conversion Guide to convert existing unit to the proper model.
- Dirt in diaphragm bypass. Clean under running water or replace flex tube diaphragm.
Manufacturer Info
Sloan is the premier manufacturer of restroom products and systems for the commercial market. Sloan Flushometers, Sloan Faucets and other engineered systems provide owners with the ultimate in tenant and employee convenience – while saving water.
 List Price: $272.15 You Save 34%
